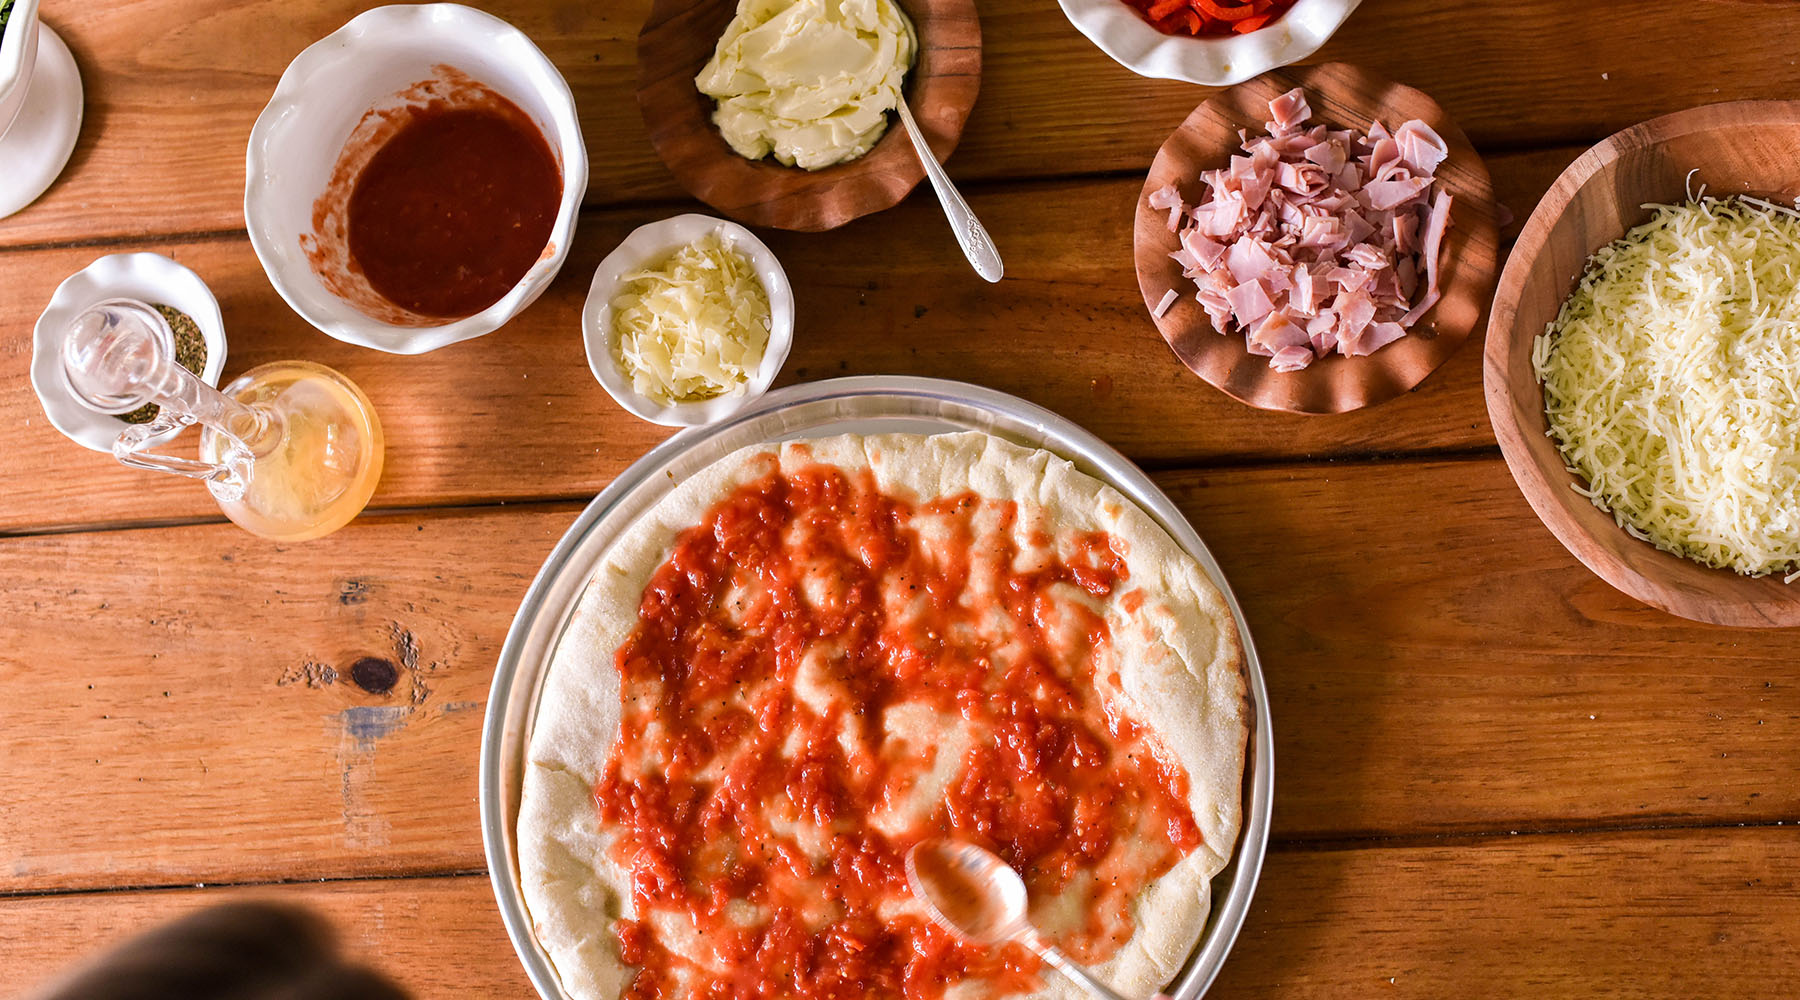
It's All About the Dough: 3 Recipes to Build Your Own Pizza Spread
Italy has excellent food and ingredients, and inspires you to come home and try to make pizza yourself. We love pizza, and last summer, we {Marcie and René} got a pizza oven installed at our house, and we love firing it up for family pizza night.
Pizza night is very engaging, and it’s a good gathering for multigenerational families to bond over. It's always fun, and as the weather cools, we will be outside using the pizza oven more and more.

While we were in Italy, we learned about how there’s so much history about pizza and dough and how it was not popular until the 1940s. Pizza, which began as focaccia, was considered a “lower-class” food in Ancient Greece. One day, Queen Margherita ordered it, and the Margherita Pizza got its name's sake. Once it became popular, there was no turning back. And we are grateful for that!
On our trip, we had two pizza nights at the villa we were staying at. The cook used olive tree wood in the oven, and the dough was homemade and delicious. We went to the local grocery store to pick up the ingredients ourselves so we could customize the different pizzas.
Three pizzas were our favorites: pizza with prosciutto and arugula, Margherita pizza, and ham and mushroom pizza. We knew we wanted to be able to replicate these recipes when we got back to the states and include them in our own family pizza nights at our house.
We have also learned that when it comes to making homemade pizza, it is all about the dough. When we make dough at our home, we use flour made by the oldest flour company in Naples, Italy: Caputo Flour, which makes the best pizza dough {in our opinion}.

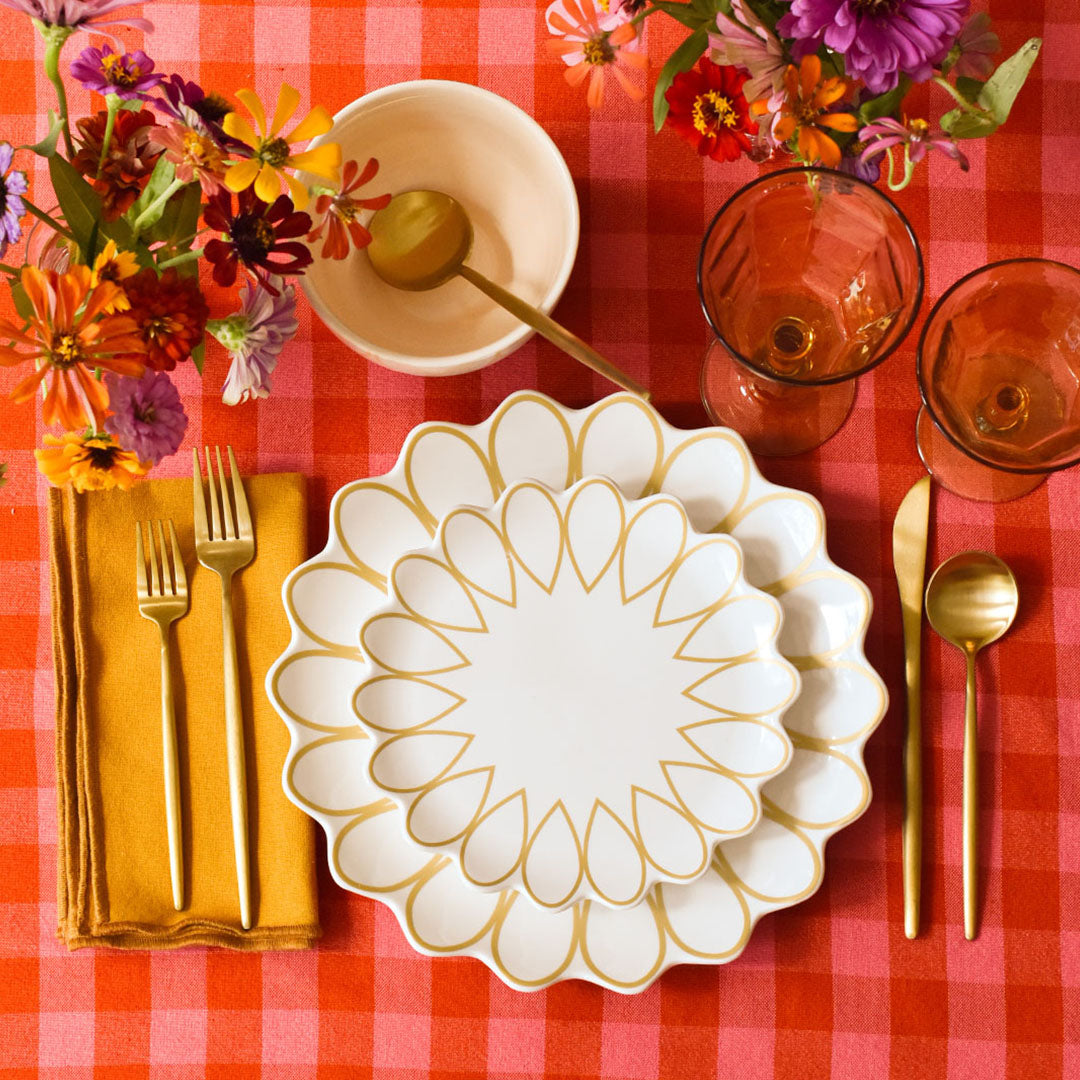
We recommend serving your pizza hot out of the oven – just like we had it in Italy. You can pre-cut each pizza so guests can easily grab a slice. For a casual but elevated look, you can stack dinner plates and complementary utensils next to them. For an elevated and more formal look, you can set the table with dinner plates, salad plates, complementary utensils, napkins or placemats, and complementary utensils, like Sabre flatware.
Homemade Pizza Dough

Yields 6-7 10-inch pizza doughs
Ingredients:
- 1000g (35oz) '00' flour (we recommend Caputo 'blue')
- 2g (2/3tsp) fresh yeast
- 620ml (21fl oz)tepid water
- 30g (1oz) fine sea salt
Instructions:
- Make a mountain of flour in the middle of the table. Using your fist, make a deep well in the middle of the flour, exposing the surface of the table (turning your mountain into a moon crater)
- Crumble the yeast into the tepid water. Use your good hand to mash up the yeast in the water until it has dissolved. (Keep the other hand dry for taking Instagram photos to show off to your friends.)

3. Fill your crater of flour with a third of the yeast/water mix. Using your fingertips, start making very small circular motions to combine the flour and water.
4. Start dragging in some more flour to the mix, by 'undercutting' the wall of the crater with your fingertips. As you do this the mixture in the middle will become thicker. Once it reaches the consistency of porridge you need to add a bit more water. Don't let it get too thick; if it starts to form a dough too soon it becomes difficult to incorporate the rest of the water.
5. Keep dragging in a little flour to thicken the mix, then pouring a little bit more water into loosen it, until you have used up all the water.
6. Sprinkle the sea salt over the mixture while it's still very wet to ensure it dissolves and disperses evenly throughout the dough.
7. Now use both hands to push the remaining flour from the outside into the middle.
8. Fold and press the mix until all the flour is absorbed and a dough comes together. If you have a dough scraper it really helps get everything off the table, but you can improvise with a paint scraper, spatula or knife.

9. Work the gluten by kneading the dough. Use the heel of your hand to stretch out the dough and roll it back up, while the other hand acts like an anchor. You'll be able to see the strands of gluten stretching, breaking, being put back together and becoming stronger.
10. Continue this for about 8 minutes until the dough becomes smooth and glossy. It should also feel tighter and elastic.
11. Let the dough have a 10-minute rest to relax the gluten.
12. Cover the dough with a damp cloth or some clingfilm (plastic wrap) to keep the air from drying it out.
13. Then divide your bulk of dough into 6-7 individual portions. We recommend 230g (8oz) dough balls for 10-inch pizzas. Ensure your dough balls are neatly shaped - pinched at the bottom and tight on the top - then place them in a tray or container 3cm (1in) apart.
12. Cover with a tight lid or clingfilm (plastic wrap). Now you can relax. The yeast will take over from here.
13. Leave the dough at room temperature for approximately 6 hours until it expands to almost double its size, then store in the fridge overnight.
14. The next day remove the dough from the fridge for 1-2 hours and bring it back to room temperature before making your pizzas.
Pro Tip: Don’t use the rolling pin – always use your hands for a more combined, kneaded dough.
Pro Tip: Measure out all your ingredients before you begin.
Pro Tip: Try to dedicate as much time as you can to the dough. The more time you get for the fermentation of the dough, the better.
Note: You can always buy pre-made pizza dough from the grocery store if you’re short on time {we won’t tell}.
Recipe Courtesy of: Pizza: History, recipes, stories, people, places, love by Thom Elliot, James Elliot
Margherita Pizza

Serves 6-8, Yields 1 pizza
Ingredients:
- Homemade pizza dough
- 1 jar pizza sauce
- 1 Package pre-sliced spicy salami
- 2-3 Plum tomatoes, sliced
- Shredded mozzarella cheese
- Fresh ground black pepper
- Dried oregano
- Fresh basil, optional
- Sweet onion, optional
- Pizza oil, optional
Instructions:
- Spread desired amount of pizza sauce onto pizza dough, making sure to leave the crust area bare.
- Sprinkle shredded mozzarella cheese on dough. Place slices of spicy pepperoni through the pizza.

3. Ground fresh black pepper across the top, to taste.
4. Sprinkle dried oregano across the top.
5. Drizzle pizza oil across the pizza if desired.
6. Bake pizza in preheated oven for 10-12 minutes, or until crust is golden and crispy.
7. Top the pizza with slices of plum tomatoes. Add fresh basil as desired.
Pro Tip: Add fresh sliced peppers to any pizza to instantly elevate the recipe.
Pizza with Prosciutto and Arugula

- Homemade pizza dough
- Shredded mozzarella cheese
- 12 oz package mascarpone
- Fresh ground pepper
- Arugula
- Balsamic vinegar glaze, optional
- Spread desired amount of pizza sauce onto pizza dough, making sure to leave the crust area bare.
- Sprinkle shredded mozzarella cheese on dough. Add dollops of mascarpone to the pizza as desired.
- Place prosciutto on top of pizza. Top with ground black pepper as desired.
- Bake pizza for 10-12 minutes or until the crust is golden brown and crispy.

5. Top with a generous amount of arugula.
6. Top with more prosciutto, if desired. If desired, drizzle with balsamic vinegar to finish.
Ham and Mushroom Pizza

Ingredients:
- Homemade pizza dough
- 1 jar pizza sauce
- Cubed deli ham
- Fresh white or portabella mushrooms, sliced
- Sweet onion, sliced
- Fresh ground pepper
- Dried oregano
- Spread desired amount of pizza sauce onto pizza dough, making sure to leave the crust area bare.
- Sprinkle shredded mozzarella cheese on dough.
- Spread cubed ham and mushrooms across the pizza to your liking.

4. Places slices of onion on pizza, and ground black pepper on top.
5. Garnish with dried oregano, if desired.
6. Bake in oven for 10-12 minutes or until the crust is golden brown and crispy.
Note: You can drizzle pizza oil on top if desired.
Serve It Up:
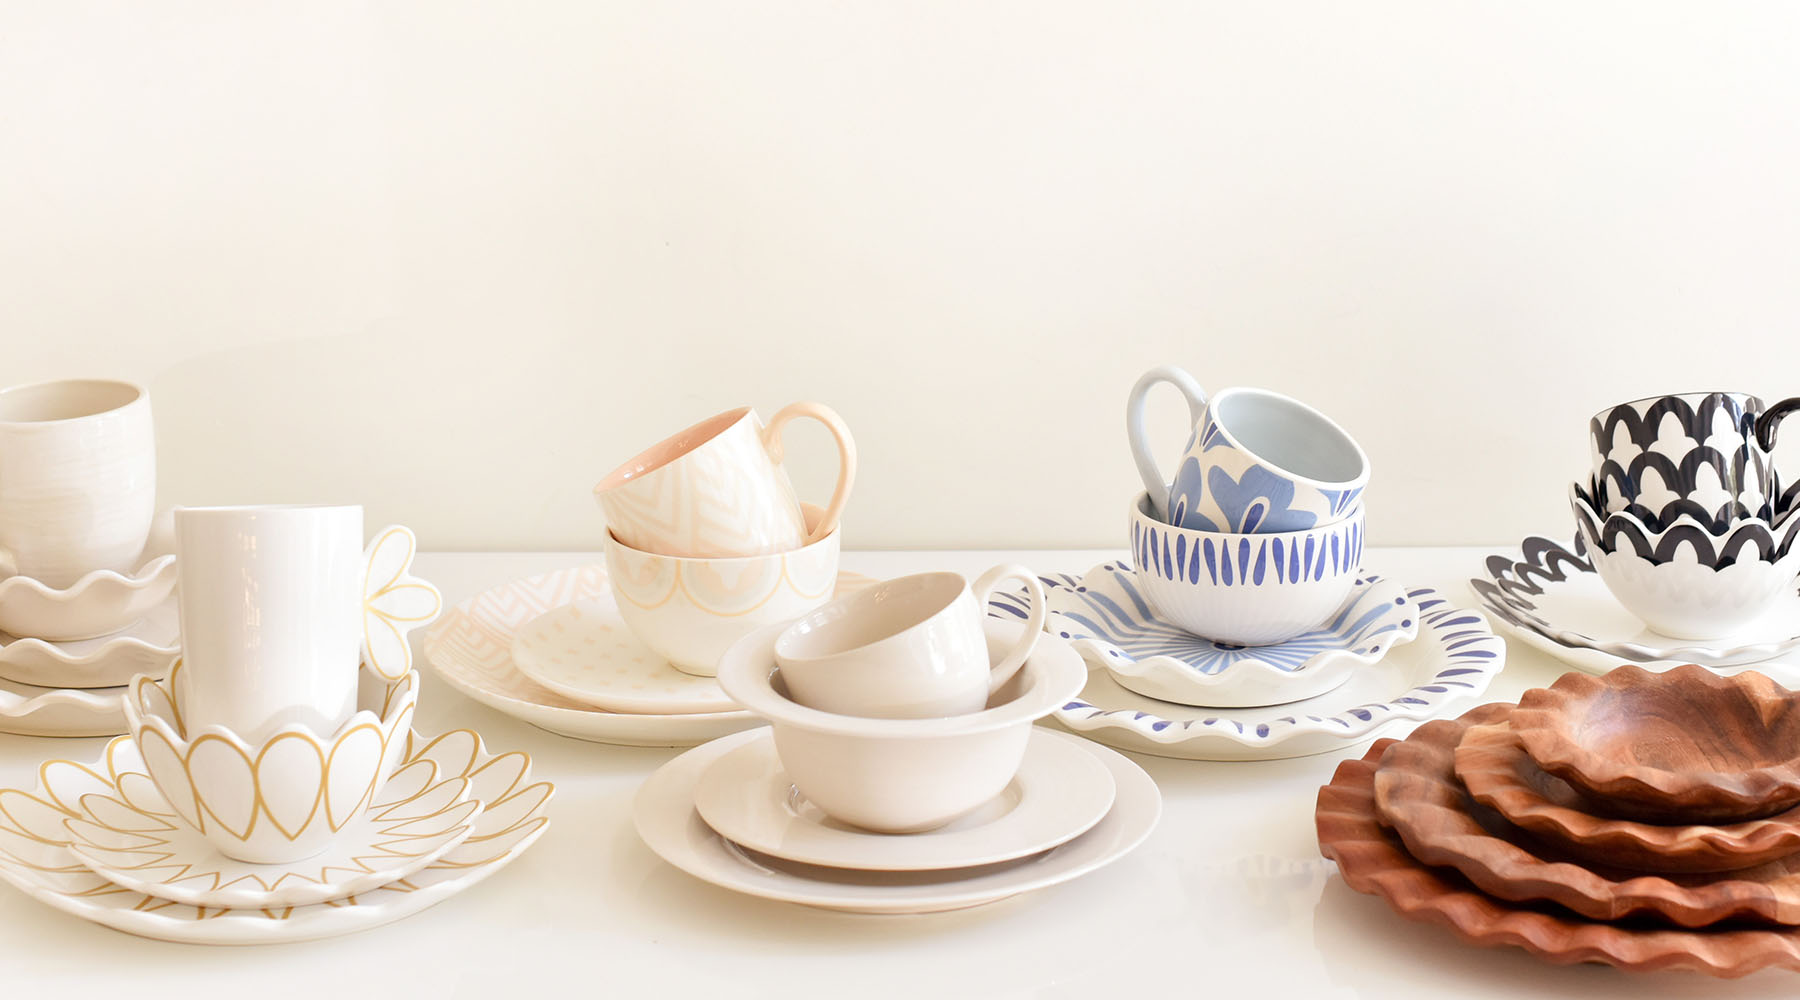
| Our Fundamental 13in Bowl is made of Acacia wood and features a beautiful ruffle edge paired with natural variations for a one-of-a-kind look. | |
| Our Signature White 9in Bowl can be used to entertain for all seasons. | |
| The Fundamental Ruffle Small Bowl, made of elegant Acacia wood, is great for toppings. | |
| Our Signature White Dipping Bowl features hand-painted brushstrokes and is ideal for spices or smaller toppings. |





Leave a comment
This site is protected by hCaptcha and the hCaptcha Privacy Policy and Terms of Service apply.